


If you’ve ever cracked open a can of store-bought corn and thought, “Hmm… this tastes suspiciously like cardboard wearing corn’s Halloween costume,” you’re not alone. I used to think canned corn just wasn’t supposed to taste great.
Then one summer, armed with fresh sweet corn and zero patience for bland flavors, I tried making my own. Spoiler alert: homemade canned corn actually tastes like real corn. Fresh, sweet, crisp, sunshine-in-a-jar corn. And the best part? It’s way easier than you probably think. So grab your apron (or, let’s be real, an old T-shirt you don’t care about), because this recipe is about to make your pantry very, very happy.
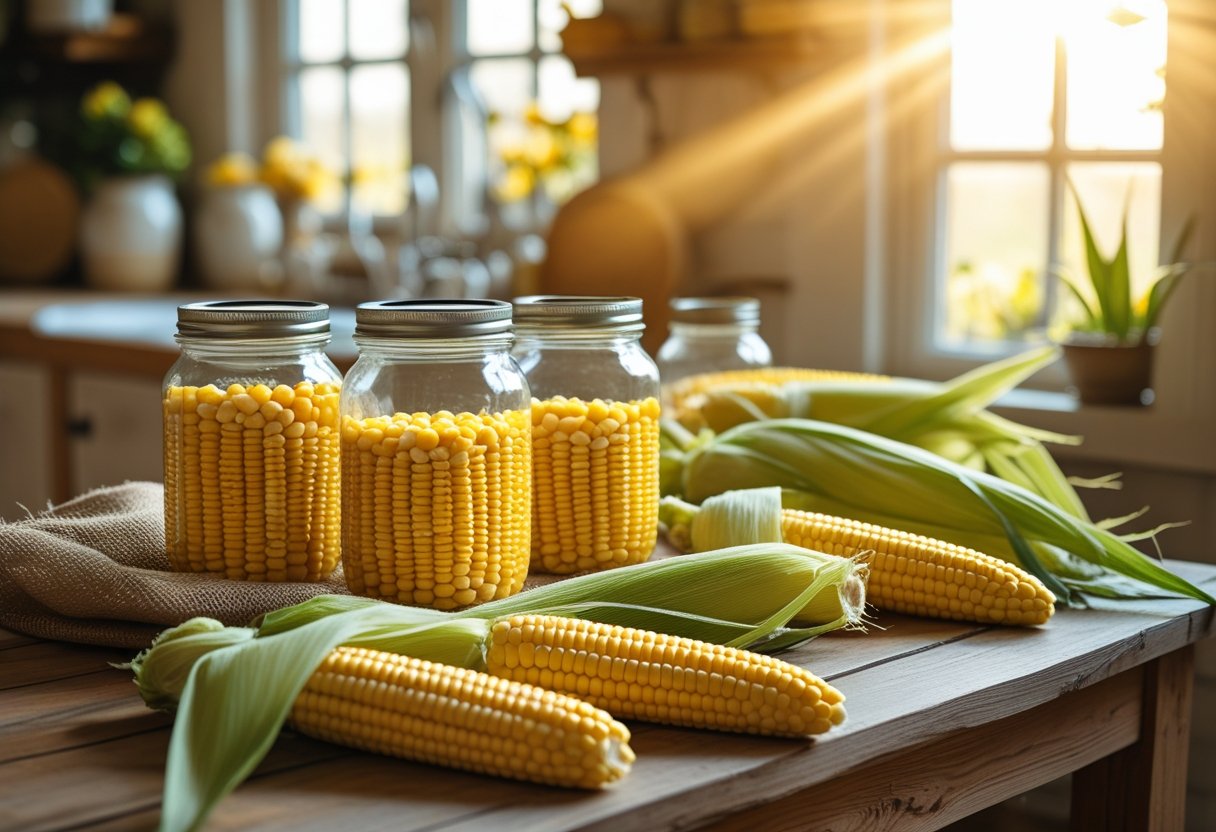
hen this Homemade Canned Corn Recipe – Fresh, Sweet & Easy to Make is exactly what you need. This method lets you preserve that farm-fresh flavor all year long without sacrificing taste or texture. By pressure canning your own corn, you’ll enjoy crisp, golden kernels that actually taste like corn — not tin. Plus, it’s simple, budget-friendly, and perfect for beginners.
To get started, shuck and clean fresh corn, then blanch it to lock in color and sweetness. Cut the kernels off the cob and pack them into sterilized canning jars, leaving one inch of headspace. Add canning salt for flavor and pour in hot water.
Remove air bubbles, wipe the rims, and seal the jars. Pressure can for 55 minutes (pints) or 85 minutes (quarts) at 10 lbs pressure, then let them cool and check the seals. Properly canned corn stays fresh in your pantry for up to 18 months.
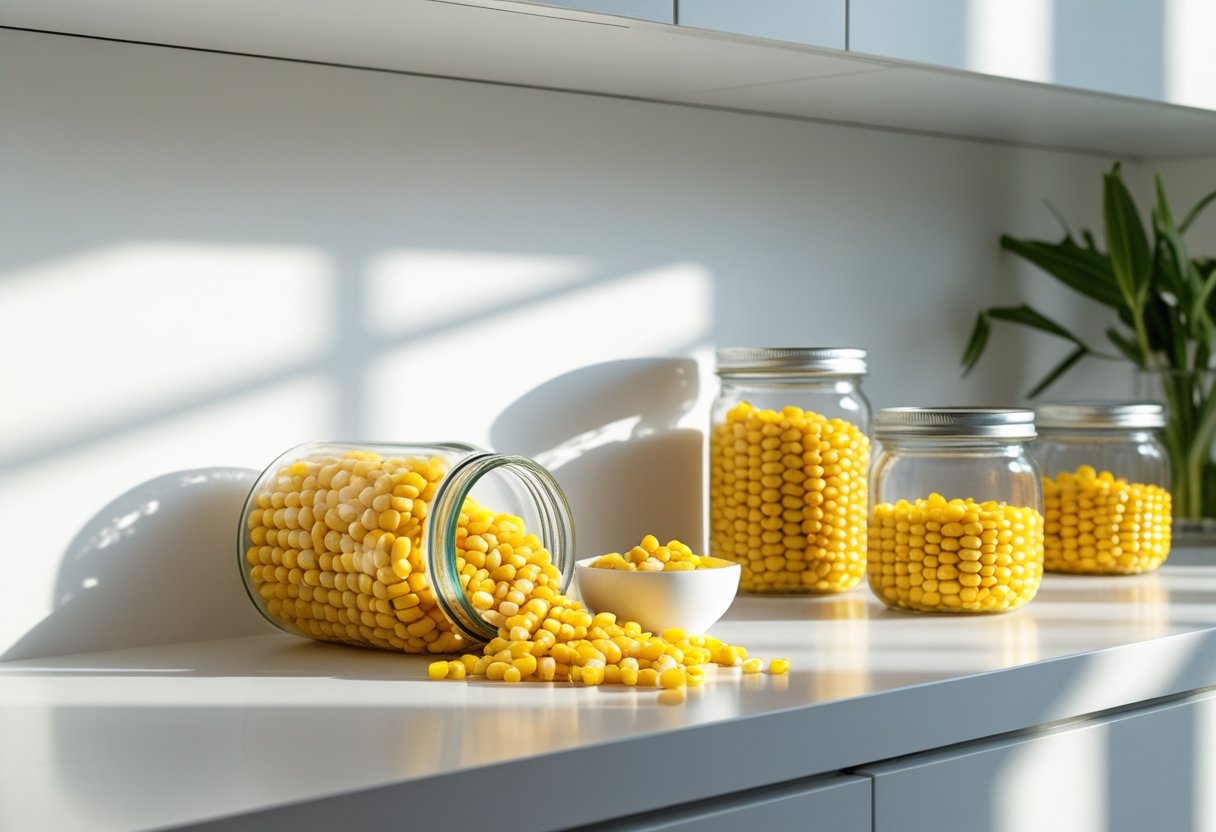
Homemade canned corn is incredibly versatile — use it in soups, salads, casseroles, cornbread, or straight from the jar. It’s healthier, more flavorful, and completely customizable. Whether you’re a first-time canner or a seasoned pro, this recipe makes preserving fresh corn easy and enjoyable.
Ready to stock your shelves with summer’s sweetness? 🌽
Complete recipe in given below.
Why Bother Making Homemade Canned Corn?
You might be asking, “Why not just buy a can for $1?” Fair question. Here’s the thing: store-bought canned corn often loses flavor, texture, and nutrients during processing. Homemade? You get:
- Fresher taste – Like summer in every bite.
- Better texture – Firm, crisp, not mushy.
- Less junk – No unnecessary additives or extra sodium.
- Total control – Sweetness, salt, and flavor are in your hands.
Plus, IMO, there’s something wildly satisfying about seeing jars of golden corn lined up on your shelf. It’s like adulting… but prettier.
🌽 What You’ll Need (a.k.a. The Golden Squad)
Before you go full Gordon Ramsay, let’s talk gear and ingredients. The list is short, sweet, and probably already in your kitchen.
Ingredients:
- 10–12 ears of fresh sweet corn (yellow or bi-color works best)
- Salt (non-iodized canning salt is ideal)
- Water (filtered or distilled if possible)
Optional but recommended:
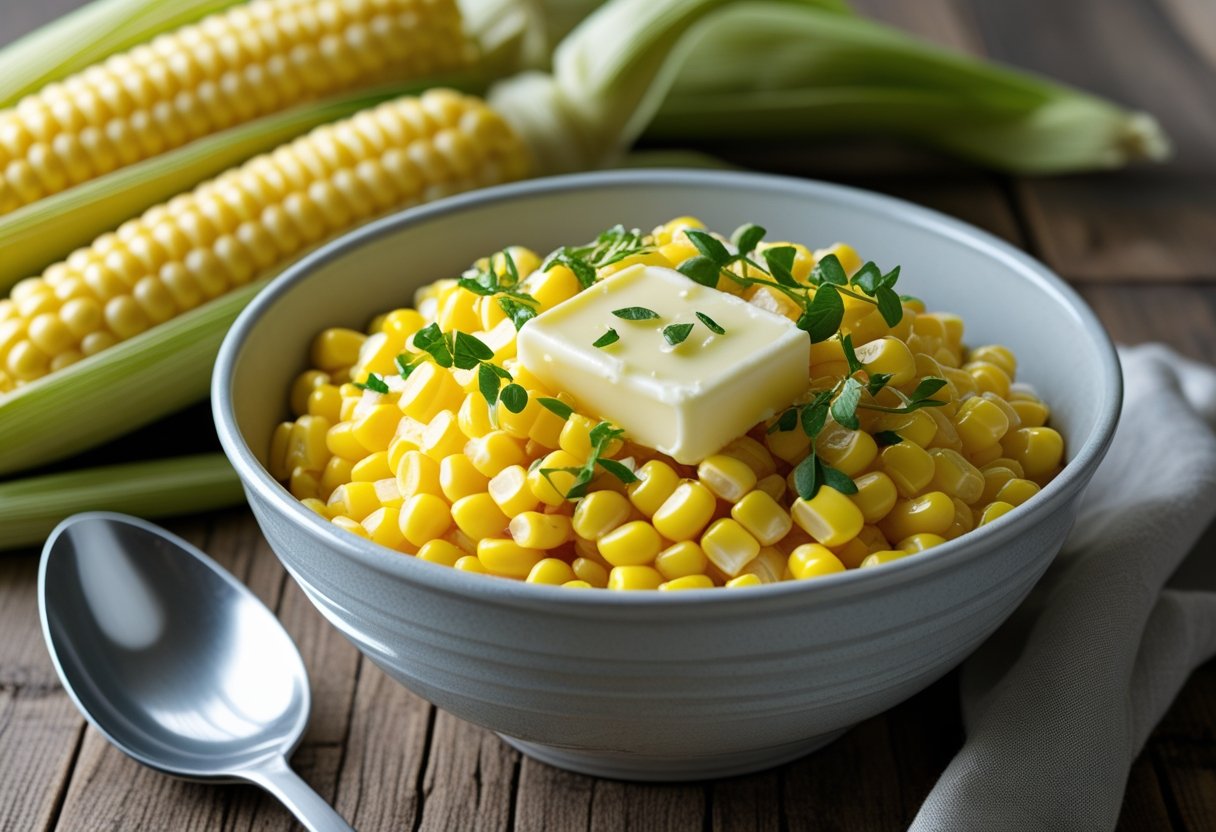
- A little butter for flavor (added when serving, not during canning).
Equipment:
- Large stockpot
- Sharp knife or corn stripper
- Canning jars (pint or quart) with new lids and bands
- Canning funnel (unless you love messes… I don’t judge)
- Water bath canner or pressure canner
- Tongs and a clean cloth
👉 FYI: Technically, corn is a low-acid food, so it’s safest to pressure can. Water bath canning works only with pickled corn or with careful adjustments. I always stick to pressure canning for safety.
Prepping the Corn Like a Pro
Alright, let’s get our hands dirty. Well, not literally — but probably a little bit, because corn has no respect for personal space.
Step 1: Shuck and Clean
Peel off the husks and silk from each ear of corn. I like to do this outside if possible — those silky threads stick to everything like needy glitter.
Step 2: Blanch the Corn
Boil a big pot of water. Toss in the corn cobs for about 4–5 minutes, then plunge them into ice water to stop the cooking. Why? Blanching locks in that vibrant color and flavor.
Step 3: Cut Off the Kernels
Stand each cob on its flat end (or stick it in the center of a Bundt pan for less mess). Run a sharp knife downward to remove the kernels. Try not to take half the cob with you. You want plump kernels — not wood chips.
The Canning Process
This is the part where we turn fresh corn into shelf-stable goodness. Don’t worry — it’s less intimidating than it sounds.
Step 4: Sterilize Your Jars
Boil your jars for 10 minutes or run them through a hot dishwasher cycle. You want them clean and warm so they don’t crack when hot food hits them.
Step 5: Fill the Jars
Using your funnel, scoop corn kernels into the jars, leaving about 1 inch of headspace. Add ½ teaspoon of salt for pints or 1 teaspoon for quarts (optional but gives that classic canned corn taste).
Step 6: Add Hot Water
Pour in boiling water to cover the corn, still leaving that inch of headspace. No one likes an overfilled jar — it’s messy and dangerous.
Step 7: Remove Air Bubbles
Use a clean chopstick or bubble remover to gently poke around the sides. This helps remove trapped air, so your seal is strong.
Step 8: Wipe and Seal
Wipe jar rims with a damp cloth. Pop the lids on and screw the bands until fingertip tight. Don’t Hulk-smash them — the air needs to escape during processing.
Step 9: Process the Jars
Place the jars in your pressure canner with hot water (per your canner’s instructions). Lock the lid.
Process times:
- Pint jars: 55 minutes at 10 lbs pressure (adjust for altitude if needed)
- Quart jars: 85 minutes at 10 lbs pressure
Step 10: Cool Down Gracefully
Turn off the heat and let the canner depressurize naturally. Don’t rush it. I know it’s tempting, but this isn’t instant ramen. Once fully depressurized, open the lid away from your face (because steam burns are not a good look).
✨ Check Those Seals (a.k.a. The Moment of Truth)
This is where the magic happens. After 12–24 hours of cooling, press the center of each lid:
- If it’s firm and doesn’t pop, congrats — it’s sealed! 🎉
- If it pops, no worries. Just pop that one in the fridge and eat it within a few days.
Label and date your jars. Future you will thank present you when they find a jar six months later.
Storage Tips to Keep It Perfect
Store your beautiful golden jars in a cool, dark place like a pantry or basement. Properly canned corn lasts up to 12–18 months.
A few pro tips:
- Keep jars off direct sunlight — corn hates UV rays almost as much as I do.
- Always check for broken seals or weird smells before eating.
- Use within a year for the best flavor.
🥘 How to Use Your Homemade Canned Corn
Here’s the fun part. Homemade canned corn isn’t just a pretty shelf decoration. You can use it in a ton of ways.
Top Ways to Enjoy It:
- Corn chowder — creamy, cozy, ridiculously good.
- Cornbread mix-ins for extra sweetness.
- Toss into salads for crunch and color.
- Add to tacos or salsas for a burst of freshness.
- Or — let’s be honest — eat it straight from the jar. No judgment here. 😎
You’ll notice the difference immediately. It’s brighter, sweeter, and way less… canned-tasting. (Shocking, I know.)
⚔️ Homemade vs. Store-Bought: The Real Talk
Let’s be honest: sometimes convenience wins. But when it comes to flavor? Homemade wipes the floor with store-bought.
| Feature | Homemade Canned Corn | Store-Bought Corn |
| Flavor | Fresh, sweet, crisp | Dull, sometimes metallic |
| Ingredients | Corn, water, salt | Often includes additives |
| Texture | Firm kernels | Mushy or soft |
| Shelf life | 12–18 months | 12–24 months |
| Customization | Total control | None |
🤔 Common Mistakes and How to Dodge Them
Even the best corn wranglers make mistakes. Here are a few rookie errors to avoid:
- Overfilling the jars: Leave that headspace, or the lids might not seal.
- Skipping the pressure canner: Don’t. Seriously. Corn needs pressure canning for safety.
- Forgetting to remove air bubbles: This can mess with your seal.
- Using old lids: Always use new lids to ensure a proper seal.
And yes, I learned all of these the hard way. (Don’t ask about the Great Corn Explosion of 2019.)
📝 Quick Reference: Homemade Canned Corn Steps
For my fellow list lovers, here’s the process at a glance:
- Shuck and blanch corn.
- Cut kernels off cobs.
- Sterilize jars.
- Fill jars with corn, salt, and hot water.
- Remove air bubbles and seal jars.
- Pressure can (55 min pints, 85 min quarts).
- Cool, check seals, and store.
Stick that list on your fridge, and you’ll be a corn-canning machine in no time.
FAQs
1. Is it safe to can corn at home?
Yes, it’s absolutely safe to can corn at home if you use the correct method — pressure canning. Corn is a low-acid food, so it must be pressure canned to prevent bacterial growth (like botulism). Always follow the recommended time and pressure levels to ensure food safety.
2. Do I need a pressure canner to make homemade canned corn?
Yes. Unlike tomatoes or pickles, corn can’t be safely canned using a water bath canner alone because of its low acidity. A pressure canner is essential for safe long-term preservation.
3. How long does homemade canned corn last?
Properly canned and stored corn lasts 12 to 18 months in a cool, dark place. Make sure the jars are sealed properly and check for signs of spoilage before use.
4. Can I use frozen corn instead of fresh?
Technically yes, but fresh sweet corn gives the best flavor and texture. If using frozen, thaw it completely and follow the same canning steps.
5. What kind of corn is best for canning?
Sweet corn — particularly yellow or bi-color varieties — is ideal. Choose corn that’s fresh, tender, and harvested the same day for the best taste.
6. Do I need to cook corn before canning it?
Yes, blanching is key. Briefly boil the corn cobs, then cool them in ice water. This locks in flavor and color and helps maintain texture during storage.
7. Why do I need to leave headspace in the jar?
Leaving about 1 inch of headspace allows the corn to expand during canning. It prevents overflow, helps achieve a strong seal, and avoids messy jars.
8. Can I add butter or seasoning to my canned corn?
You shouldn’t add butter during canning because fat can interfere with sealing. You can add salt for flavor, but any extra butter or seasonings should be added after opening the jar.
9. How do I know if my canned corn has spoiled?
If the lid pops, leaks, or the contents look cloudy, bubbly, or smell off, don’t taste it. Discard it immediately. A properly sealed jar should have a firm, concave lid with no movement.
10. What’s the difference between pressure canning and water bath canning for corn?
Water bath canning is only safe for high-acid foods. Since corn is low-acid, pressure canning is required to reach high enough temperatures to destroy harmful bacteria and ensure long-term storage.
11. How much salt should I add when canning corn?
For a pint jar, add ½ teaspoon of canning salt. For a quart jar, add 1 teaspoon. This is optional, but it enhances the flavor without compromising shelf life.
12. Do I need to remove air bubbles from the jars?
Yes. Removing air bubbles with a clean tool helps prevent sealing issues and ensures even heat distribution during pressure canning.
13. Can I can corn without salt?
Yes, salt is not required for preservation — only for flavor. If you prefer unsalted corn, just leave it out.
14. Can I reuse canning lids?
No. Always use new lids for proper sealing. Bands can be reused if undamaged, but lids are single-use only.
15. Can I mix corn with other vegetables when canning?
Yes, but only if you follow a tested recipe and pressure can the mixture. Each ingredient affects acidity, so stick to USDA or trusted recipes.
16. Why is my canned corn cloudy after processing?
Cloudiness can result from hard water, excess starch, or spoilage. If the jar was properly processed and sealed, cloudy liquid from starch isn’t harmful — but always double-check for any signs of spoilage.
17. Do I need to sterilize jars before canning corn?
Yes, sterilizing jars in boiling water or using a hot dishwasher cycle ensures they’re clean and reduces the risk of contamination during canning.
18. Can I make creamed corn and can it the same way?
No. Creamed corn contains dairy or extra fat, which requires different processing. Stick to plain corn when canning for safety. You can turn canned corn into creamed corn after opening.
19. How can I keep my canned corn crunchy?
The key is using fresh, tender corn and not over-blanching. Also, process the jars promptly after filling to lock in that crisp texture.
20. How do I use homemade canned corn in recipes?
You can use it in soups, casseroles, cornbread, salads, or straight from the jar. It’s fully cooked during canning, so reheating or adding to dishes is all you need.