


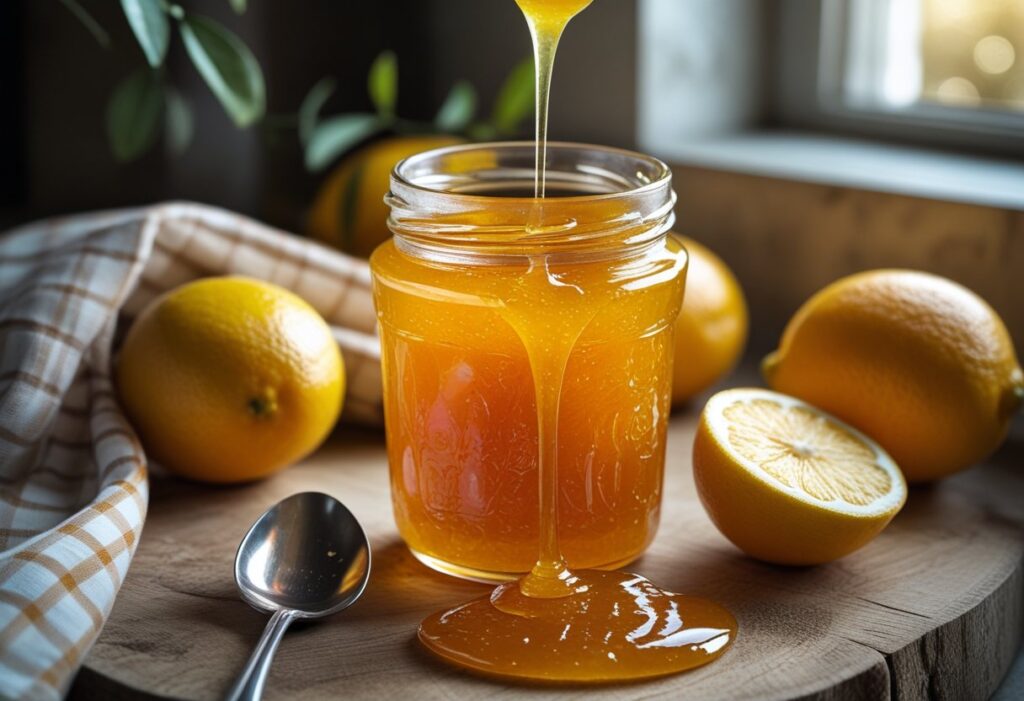
There’s something magical about making your own homemade marmalade — the kind of goodness that fills your kitchen with a rich, citrus scent, brings warmth to breakfast toast, and makes you feel connected to generations of cooks who stirred pots and chatted about life while waiting for a perfect set. One of the most beloved versions of this classic preserve is the Mary Berry Marmalade Easy Recipe — a recipe filled with nostalgic flavor and surprisingly simple steps that anyone can master.
In this article, you’ll learn how to make this timeless preserve, what tools you’ll need, helpful tips to avoid common mistakes, and creative ways to enjoy your marmalade once it’s done. So tie on your apron, and let’s explore the joy of homemade marmalade!
What Is Marmalade — A Quick Background
Before we dive into the recipe, it helps to understand what marmalade really is. Unlike jam or jelly, which are made from a wide range of fruits, marmalade traditionally comes from citrus fruits — most famously Seville oranges — and includes both the juice and the peel. The peel gives marmalade its signature texture and slightly bitter, deeply citrusy flavor.
The word “marmalade” has an even richer history, coming from old languages and originally referring to quince preserves before evolving into the orange citrus spread we know and love today.
Why You’ll Love This Recipe
There are plenty of reasons to try this classic marmalade recipe:
- Bright, vibrant citrus flavor — nothing beats the real thing.
- Long shelf life — properly sealed jars can last many months.
- Customizable sweetness — dial it up or down to suit your taste.
- Perfect for gifting — homemade marmalade makes heartfelt presents.
Even if you’ve never made preserves before, this step‑by‑step guide will take you through it gently and clearly, just like Mary Berry herself would want.
Ingredients You’ll Need
Here’s what goes into your Mary Berry Marmalade Easy Recipe Classic Homemade Joy:
🍊 Main Ingredients
- Seville oranges — about 1 kg (these are traditional for marmalade and give great natural pectin).
- Lemons — 2 lemons, for brightness and extra pectin.
- Granulated sugar — about 2 kg (sugar acts as both sweetener and preservative).
- Water — 2 litres to simmer the fruit.
You’ll also want basic kitchen tools like a large heavy‑bottomed pot, a sharp knife, a chopping board, a muslin cloth (or fine sieve), and sterilised jars for storing your marmalade.
Step‑by‑Step Instructions
Let’s walk through everything you need to do to make your marmalade come out beautifully every time.
Step 1 — Prepare Your Citrus
Wash your oranges and lemons thoroughly — you’ll be using the peel, so cleaning is important. Cut them in half and squeeze out all the juice into a large bowl or measuring jug. Place any seeds and pith (the white bits) into a small muslin bag and squeeze the air out before tying it closed — these contain natural pectin, which helps your marmalade set properly.
💡 Tip: Some cooks recommend leaving the seeds loose in the muslin, tied with a string you can hook onto your spoon — this makes it easier to remove later.
Step 2 — Slice the Peel
Once the juice is collected and your pectin bag is ready, lay your fruit peel flat and slice it into strips — either thick or thin, depending on how chunky you want your marmalade. Remember, this peel will give texture and visual appeal to your final spread, so choose the style you love.
Step 3 — Simmer the Fruit
Add all the fruit juice, peel, water, and the bag of seeds/pectin into your large pot. Cover and simmer gently for about 90 minutes to 2 hours until the peel is very soft and tender. This step is crucial — if the peel doesn’t soften fully, your marmalade can turn out tough.
Anecdote time: My grandmother once started marmalade early in the morning, only to be called away by guests. By the time she came back, the house smelled like a Christmas market — everyone wanted a jar before it was even done! That’s the kind of charm a proper simmer brings.
Step 4 — Add the Sugar
After your peel is soft, remove the muslin bag and squeeze it against the side of the pot to release all the pectin‑rich juices back into your mix. Then slowly add the sugar, stirring constantly over low heat until it’s completely dissolved.
It’s tempting to rush this part, but dissolving the sugar slowly helps avoid a gritty texture in your final marmalade.
Step 5 — Boil to the Setting Point
Turn up the heat and bring your jam to a rolling boil for 10–15 minutes. You want the mixture to reach the setting point — you can test this by placing a bit on a chilled plate and seeing if it wrinkles when you push it. If it does, your marmalade is ready.
📍 Pro tip: Some people use a jam thermometer and look for around 105°C (221°F) for perfect results, but the cold‑plate test works every time.
Step 6 — Rest and Distribute Peel
Turn off the heat and let your marmalade sit for about 10 minutes before jarring. This helps the strips of peel distribute evenly instead of floating to the top.
Another cook once told me that letting the marmalade rest is like letting good wine breathe — it improves the texture and brings everything together.
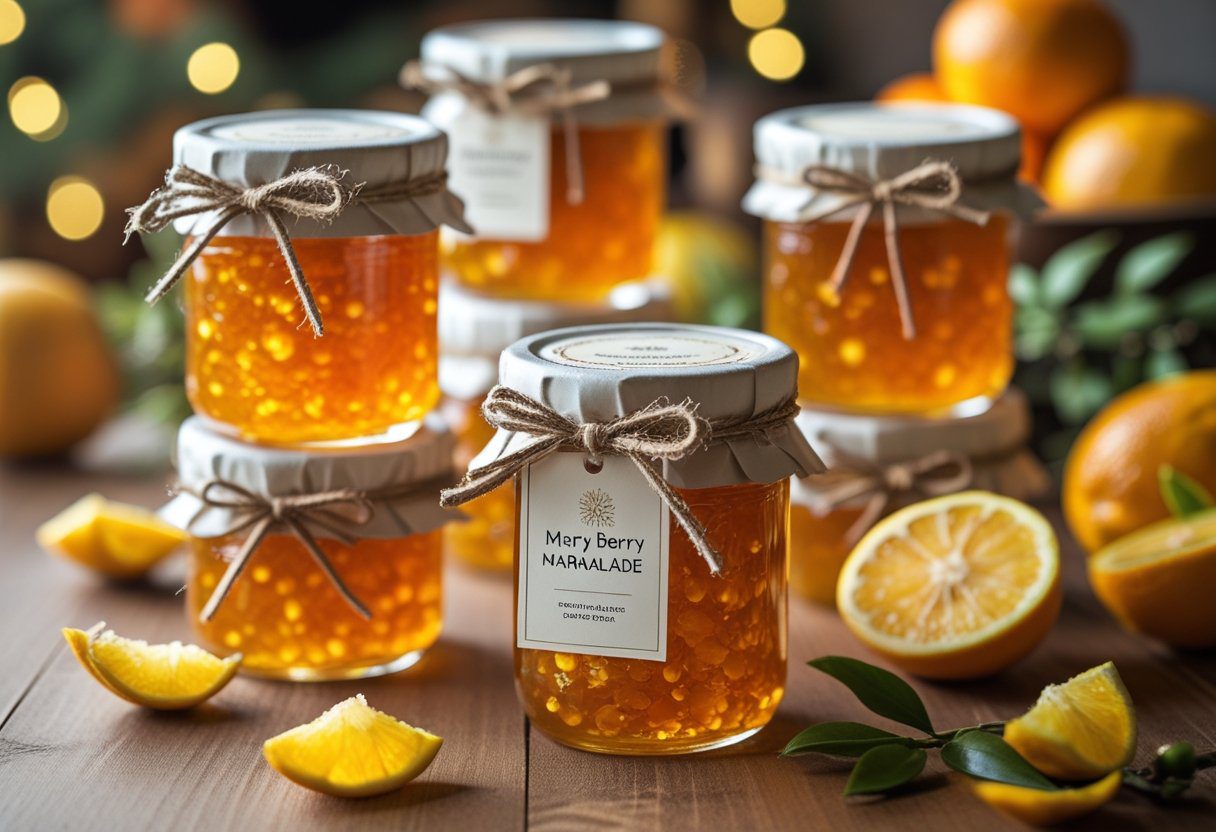
Step 7 — Jar It Up
Carefully ladle your hot marmalade into sterilised glass jars, seal them tightly, and leave them to cool completely at room temperature. Your kitchen will smell incredible — and you’ll already start planning all kinds of breakfasts!
How to Store Your Marmalade
Once sealed, your jars can be stored in a cool, dark cupboard for up to a year. Once opened, keep them in the fridge and enjoy within a few weeks.
You can also freeze small portions if you want to keep some for later seasons — just make sure to leave headroom in your containers.
Tips for Marmalade Success
Even if you follow the recipe, a few extra tips make all the difference:
- Sterilise jars properly — this ensures a long shelf life and keeps flavors fresh.
- Test for set early and often — it’s better to check than to overcook.
- Don’t rush the simmer — soft peel makes a smoother, more delicious marmalade.
- Adjust sweetness to taste — you can reduce sugar slightly, but remember it also preserves the marmalade.
Delicious Ways to Enjoy Your Marmalade
Once your jars are ready, it’s time to enjoy the fruits of your labor! Here are a few ideas:
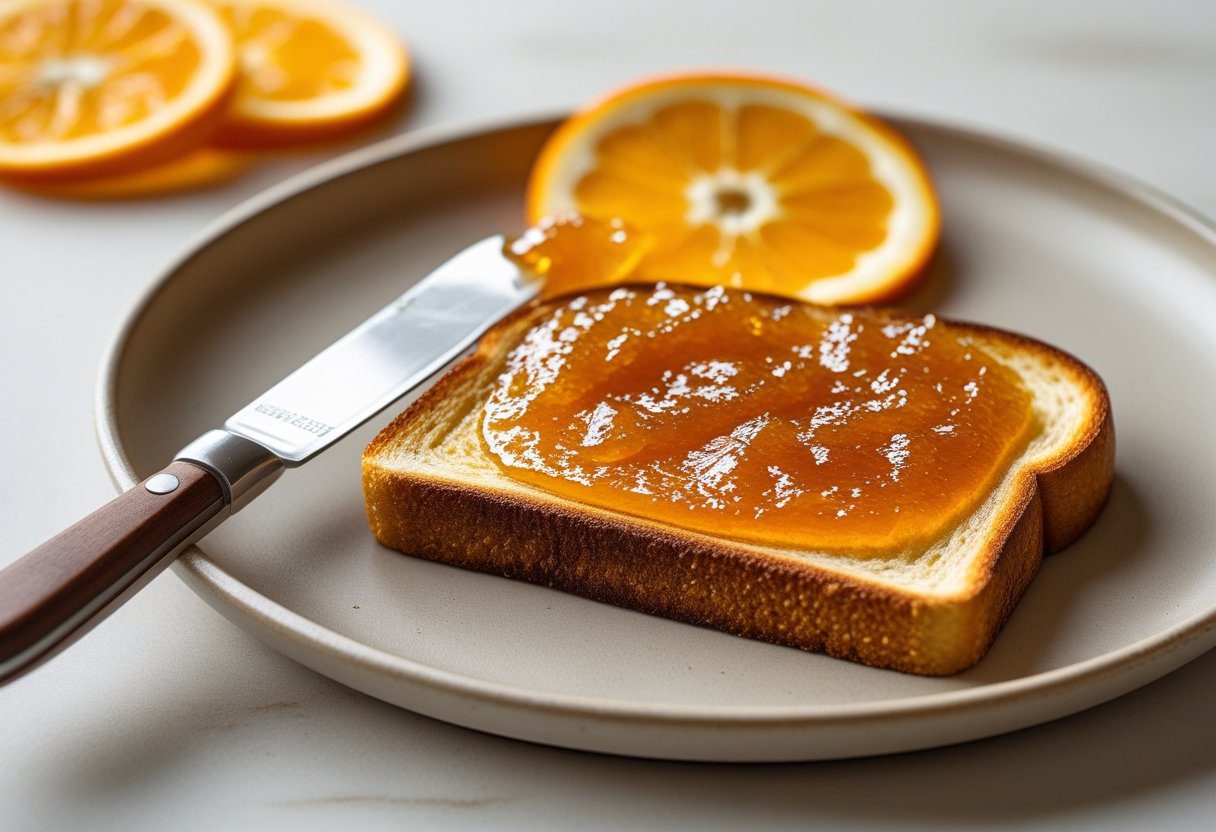
🍞 On Toast
Nothing beats spreading your marmalade on warm buttered toast — it’s a classic British breakfast moment.
🥐 With Scones or Crumpets
Use it as a topping for freshly baked scones or crumpets, paired with clotted cream or honey.
🍰 In Baking
Marmalade makes an amazing filling in cakes, tarts, or even a zesty marmalade loaf — the citrus flavor adds brightness to desserts.
🍗 Glazes
Try it as a glaze for roasted ham or chicken — the citrusy sweetness adds a beautiful finish.
Final Thoughts
Making Mary Berry Marmalade Easy Recipe Classic Homemade Joy isn’t just about following steps — it’s about creating memories. Whether it’s your first time stirring citrus on the stove or you’re a seasoned marmalade maker, this recipe brings joy to every jar. With vibrant color, rich flavor, and a texture that tells a story, your homemade marmalade will be a cherished part of breakfasts, gifts, and festive moments for years to come.
FAQs: Mary Berry Marmalade Easy Recipe
1. What oranges are best for marmalade?
Seville oranges are the gold standard for marmalade because they are naturally high in pectin and have a slightly bitter flavor that balances perfectly with sugar. If Seville oranges aren’t available, you can use a mix of regular oranges and lemons for a similar effect.
2. Can I use frozen oranges for marmalade?
Yes! Seville oranges freeze beautifully. Simply wash them, place them in a freezer bag, and freeze. When ready to make marmalade, you can cook them directly from frozen.
3. How do I know when my marmalade has set?
You can use the cold plate test: place a spoonful of hot marmalade on a chilled plate, let it cool for a minute, and push it gently with your finger. If it wrinkles, the setting point has been reached. Otherwise, boil for a few more minutes and test again.
4. Why is my marmalade cloudy?
Cloudiness usually happens when sugar isn’t fully dissolved before boiling or when pectin is strained improperly. Make sure to dissolve sugar completely and avoid stirring vigorously once the mixture reaches a full boil.
5. How can I prevent the peel from floating to the top?
Let your marmalade rest for 10–15 minutes after boiling before jarring. This allows the peel to distribute evenly throughout the mixture.
6. Can I make marmalade with less sugar?
Yes, you can reduce sugar slightly for a less sweet version, but remember sugar also acts as a preservative and helps the marmalade set. Reducing too much may result in a softer set.
7. How do I store homemade marmalade?
Store sealed jars in a cool, dark cupboard for up to 12 months. Once opened, refrigerate and consume within 4–6 weeks. Marmalade can also be frozen in small containers for up to 6 months.
8. Can I use marmalade in cooking and baking?
Absolutely! Marmalade is perfect as a spread for toast, a filling for cakes and pastries, a glaze for meats, or even stirred into yogurt or porridge for extra flavor.
9. How can I add flavor variations to my marmalade?
You can experiment with:
- Ginger — fresh or crystallized for a warm spice.
- Whisky — adds depth and richness.
- Vanilla — creates a sweeter, bakery-style flavor.
- Cinnamon or cardamom — perfect for festive versions.
10. Do I need any special equipment to make marmalade?
At minimum, you need a large heavy-bottomed pan, a long-handled spoon, sterilised jars, a sieve or muslin cloth for pectin, and optionally a jam thermometer for precision.
11. How do I sterilise jars properly?
- Oven method: Preheat to 120°C, wash jars, and heat for 15 minutes.
- Dishwasher method: Use the hottest cycle and leave jars hot until ready.
- Microwave method: Fill jars halfway with water and microwave until boiling (glass jars only, no metal lids).
Boil lids in water for 5–10 minutes to ensure proper sterilisation.
12. Can marmalade be a gift?
Yes! Homemade marmalade makes a thoughtful, luxury gift. Just make sure jars are sealed correctly, labelled, and the sugar/fruit ratio is clear. It’s a perfect addition to festive hampers or for friends and family.