


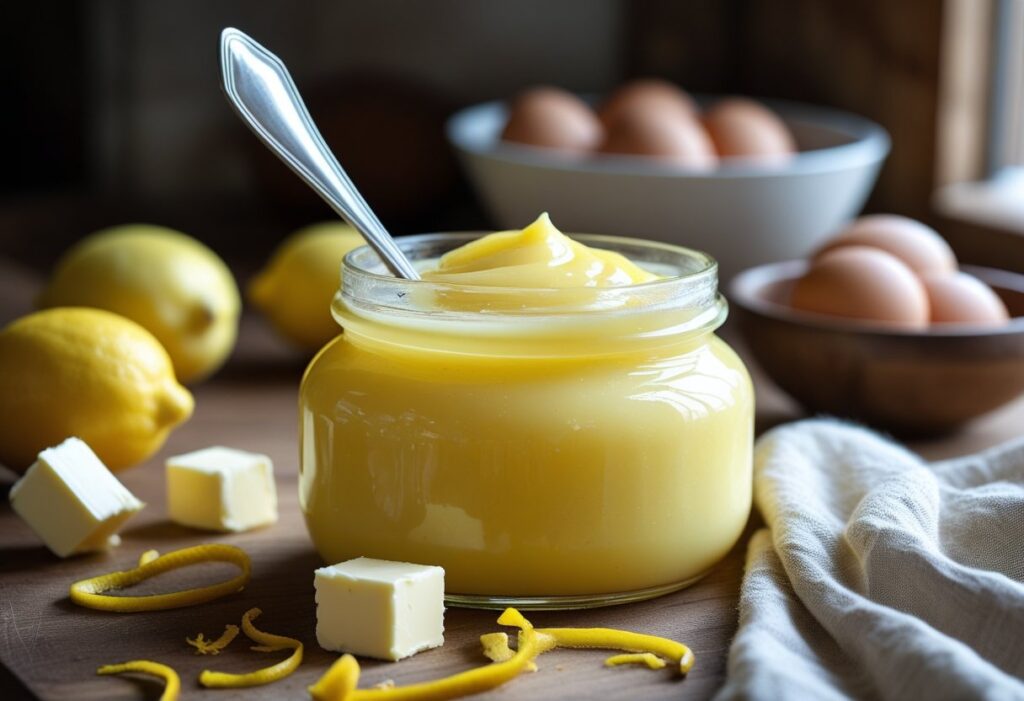
There’s something incredibly comforting about opening a jar of homemade lemon curd — that vibrant yellow, tangy scent fills the kitchen with sunshine, and one taste instantly brightens your mood. Now imagine that curd crafted using a classic recipe inspired by British baking legend Mary Berry — creamy, tangy, and fast to make. Whether you’re spreading it on warm scones at afternoon tea or spooning it atop cakes and desserts, this indulgent spread is pure joy in a jar.
In this article, we’ll walk you through everything you need to know — from understanding what lemon curd really is, to mastering the simple steps behind Mary Berry’s famous style of citrus curd that’s silky smooth and bursting with flavour. Plus, I’ll share handy tips, fun anecdotes, and expert baking secrets so you nail it every single time.
What Is Lemon Curd & Why Homemade Is Better

At its heart, lemon curd is a rich, citrusy spread made by gently cooking lemon juice and zest with sugar, butter, and eggs until it thickens into a velvety delight. The amazing thing about homemade lemon curd — and especially Mary Berry-style — is that it tastes infinitely fresher than anything you’ll find sitting on a supermarket shelf. Fresh lemon juice and zest bring brightness and zing that bottled versions simply can’t match.
Lemon curd has long been a staple in British kitchens, traditionally served alongside tea and scones. Interestingly, it even had a historical nickname as “lemon cheese” in some old cookbooks because of its thick, cheese-like texture.
Why This Mary Berry Lemon Curd Easy Recipe Is Worth Trying
Before we dive into the recipe itself, let’s talk about why this version is so beloved:
- Burst with citrus flavour: The bright lemon zest and juice create a vibrant, tangy taste that balances sweet and tart perfectly.
- Silky, creamy texture: Cooked gently and strained, the result is smooth and glossy — not lumpy or grainy.
- Quick and simple: From start to finish, this recipe can take less than 30 minutes.
- Versatile: Perfect as a topping, filling, spread, or sweet condiment.
- Better than store-bought: No preservatives, no artificial flavours — just pure homemade goodness.
Ingredients You’ll Need
For this Mary Berry Lemon Curd Easy Recipe Creamy, Tangy & Fast, you only need a few everyday items:
- 4 large unwaxed lemons — for zest and fresh juice
- 200 g caster sugar — adds sweetness without graininess
- 100 g unsalted butter, cubed — for creamy richness
- 3 large eggs + 1 egg yolk — help thicken the curd beautifully
Using fresh lemons is key; bottled juice just won’t give the same bright citrus flavor.
Tools That Make This Easier
You don’t need fancy gear, but these will help:
- Fine grater or zester — for aromatic lemon zest
- Heatproof bowl and saucepan — to create a safe double boiler setup
- Whisk — for smooth blending
- Fine sieve — to strain for silky texture
- Glass jars — for storage
Step-by-Step Guide: How to Make Mary Berry Lemon Curd
1. Prepare the Lemons
Begin by washing your lemons well. Use a zester or fine grater to remove the bright outer layer of peel (the zest) — this contains essential oils that give a lively aroma and intense lemon flavor. Then, squeeze the juice. You want about 4-5 tablespoons — fresh is always best.
Anecdote: I once skipped zesting and only used juice… and while it was still tasty, my family insisted next time we double the zest for extra zing!
2. Combine Ingredients over a Double Boiler
Place the lemon zest, lemon juice, caster sugar, and butter into a heatproof bowl. Set this bowl over a saucepan with gently simmering water — making sure the bowl doesn’t touch the water. This gentle heat prevents eggs from scrambling.
3. Whisk in the Eggs
In a separate bowl, lightly whisk the eggs and extra egg yolk. Slowly add them to the lemon mixture while whisking constantly.
Important: Constant whisking prevents lumps and creates that signature creamy texture.
4. Cook Until Thickened
Continue cooking and stirring gently for about 8-12 minutes — or until the mixture thickens enough to coat the back of a spoon. This slow, thoughtful cooking makes all the difference.
Tip: If the heat is even slightly too high, your curd can become grainy or curdle. Always cook low and slow.
5. Strain & Cool
Once thickened, pour the curd through a fine sieve into a clean bowl — this removes any bits of cooked egg or zest, resulting in a silky finish. Let it cool slightly before transferring to sterilized glass jars.
A quick trick: While cooling in the fridge, lay a piece of plastic wrap directly on the surface of the curd to prevent a skin from forming.
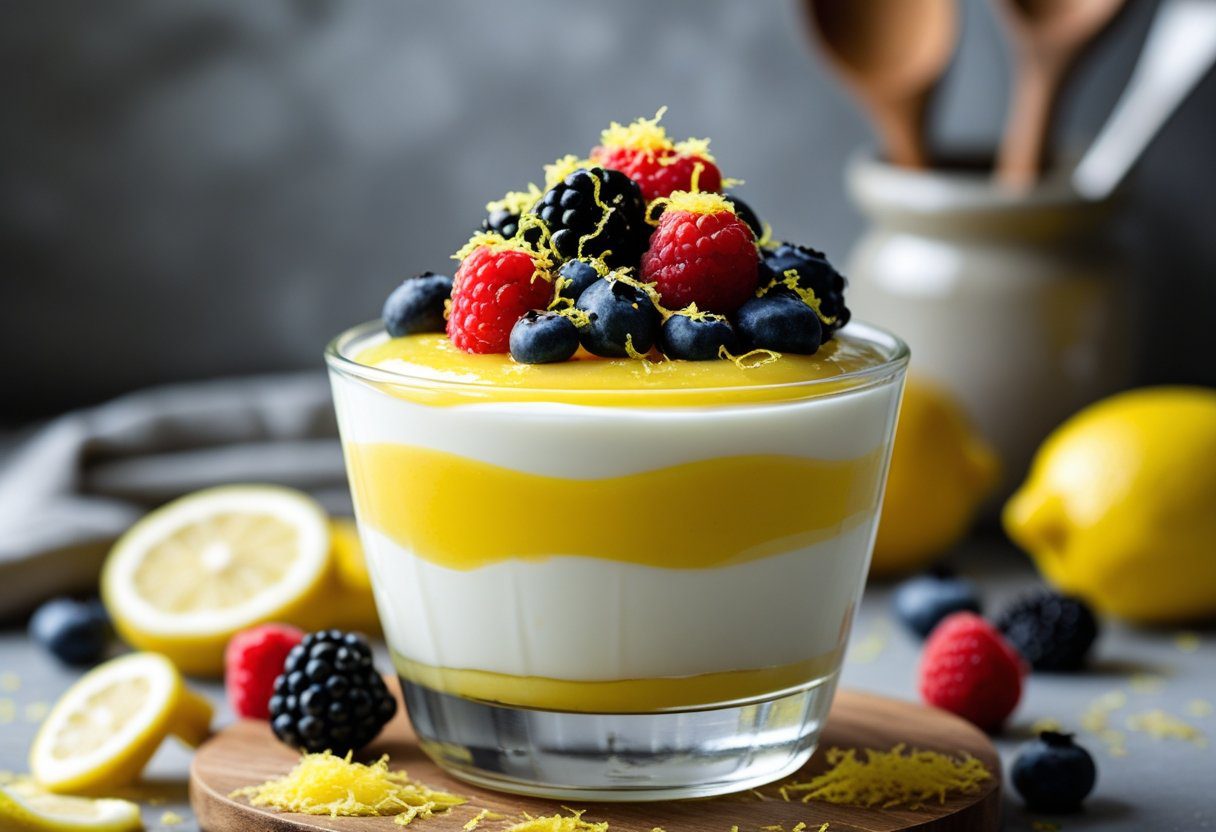
How to Serve Your Lemon Curd
Now the fun begins! Here are some of the most delightful ways to enjoy your homemade Mary Berry Lemon Curd:
- Spread generously on warm scones
- Stir into creamy yoghurt or Greek yoghurt
- Swirl into cupcakes or cake batter
- Layer between sponge cake tiers
- Dollop onto pancakes or waffles
Each bite hits with balanced sweetness, bright lemon zing, and rich creaminess — no store-bought version comes close.
Expert Tips & Tricks
Here are some insider secrets to make your curd even better:
- Always use fresh lemons: The zest and juice from fresh fruit give the best aroma and tang.
- Cook gently and whisk constantly: This keeps the texture smooth without scrambled bits.
- Taste and adjust: More zest can boost brightness if your curd seems too mild.
- Use glass jars for storage: Acidic citrus can react with metal.
Common Problems & Fixes
Even home cooks sometimes hit bumps — here’s how to fix them:
- Curd too runny: Cook a bit longer until it coats a spoon.
- Curd too thick: Warm gently while whisking — it should loosen slightly.
- Lumpy texture: Strain through a sieve to rescue smoothness.
Storage & Safety Guidelines
Proper storage ensures your curd lasts and stays safe to eat. Refrigerate in airtight glass containers — it will typically keep up to 2-3 weeks. If you want it longer, freezing is possible too.
Since lemon curd contains eggs and dairy, always cool before sealing and keep it chilled to minimize any bacterial growth.
Why You’ll Love This Recipe
There’s something magical about homemade Mary Berry Lemon Curd Easy Recipe Creamy, Tangy & Fast — it’s not just food, it’s sunshine in a jar. The bright citrus flavour, creamy texture, and simple technique combine to create a spread that’s:
- Deliciously more flavorful than store-bought
- Fast enough for weekday breakfasts
- Fancy enough for weekend desserts
Whether you’re an experienced baker or making your first citrus curd, this recipe is friendly, forgiving, and absolutely delightful. Next time you taste that bright zing paired with buttery smoothness, you’ll know you made something truly special from scratch.
FAQs About Mary Berry Lemon Curd Easy Recipe Creamy, Tangy & Fast
1. How long does it take to make Mary Berry Lemon Curd?
From start to finish, this recipe usually takes 20–30 minutes, including prep and cooking time. It’s quick enough to make for breakfast or a dessert topping.
2. Can I make lemon curd ahead of time?
Yes! Once cooled, transfer your curd to a clean glass jar and refrigerate. It will keep for up to 2–3 weeks. You can also freeze it for up to 2 months and thaw it in the fridge when needed.
3. Why did my lemon curd curdle?
Lemon curd can curdle if the heat is too high or if the eggs are added too quickly. Always cook over gentle heat and whisk continuously to keep it smooth and creamy.
4. How do I know when the lemon curd is ready?
The curd is ready when it coats the back of a spoon and leaves a clear line when you run your finger through it. It will continue to thicken slightly as it cools.
5. Can I make this recipe dairy-free?
Yes! You can replace the butter with vegan alternatives like margarine or coconut oil. If needed, you can also use plant-based sweeteners instead of sugar.
6. Can I substitute lemons with other citrus fruits?
Absolutely! Limes will make a tangier curd, while oranges will create a sweeter, milder version. Adjust the sugar accordingly to balance the acidity.
7. How can I make my lemon curd extra tangy?
Add extra lemon zest or juice from an additional half lemon. Fresh lemons always provide more brightness than bottled juice.
8. Can lemon curd be used in baking?
Yes! It’s perfect as a filling for cakes, cupcakes, tarts, or pastries, and it can also be swirled into yogurt, pancakes, or cheesecakes for extra flavor.
9. Should I strain my lemon curd?
Straining removes any bits of zest or cooked egg, giving your curd a silky smooth texture, which is especially important for spreading or filling desserts.
10. Can I use frozen lemons for this recipe?
While fresh unwaxed lemons are best for flavor, you can use frozen lemons. Make sure to thaw them and squeeze the juice before using. The zest will also work if grated while slightly frozen.