
If you love classic British baking, few treats can rival the charm of Mary Berry Raspberry Buns. These soft, fruity buns are not only a delight to the taste buds but also a comforting nod to timeless British kitchen traditions. Whether you’re a seasoned baker or a beginner, this guide will take you step by step through making these irresistible buns that are perfect for afternoon tea, weekend baking, or simply indulging yourself.
What Makes Mary Berry Raspberry Buns Special?
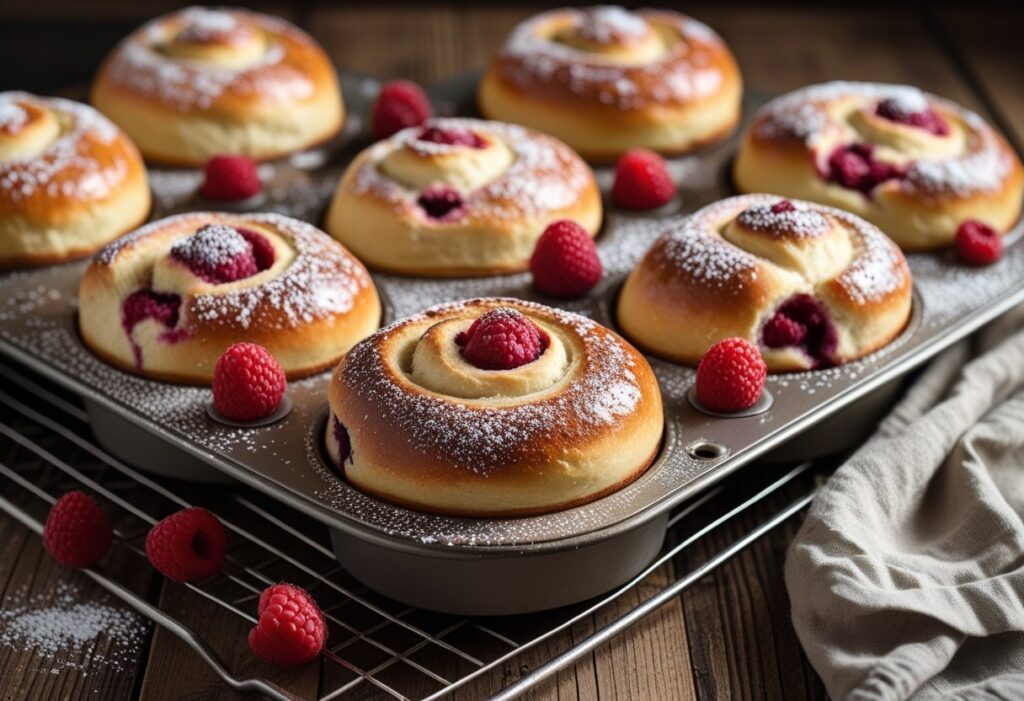
Mary Berry Raspberry Buns are distinct because they combine a light, buttery crumb with the gentle tartness of fresh raspberries. Unlike yeast-based buns that require long resting times, these buns use a simple cake-style batter, which means they bake quickly yet stay soft and fluffy inside. The raspberries break slightly as they cook, creating pockets of juicy, bright flavor in every bite.
If you’ve ever tried other bun recipes and found them either too dense or overly sweet, you’ll find these buns perfectly balanced. They are sweet but not cloying, and the fruity tartness keeps the flavor fresh.
Ingredients Needed for Mary Berry Raspberry Buns
To make these delightful buns, you will need the following ingredients:
- 200 g self-raising flour – the key to a soft, fluffy crumb.
- 100 g unsalted butter (softened) – gives richness without heaviness.
- 100 g caster sugar – just enough sweetness.
- 2 large eggs – help bind the batter and add structure.
- 2 tablespoons milk – ensures a smooth batter.
- 1 teaspoon vanilla extract – enhances the flavor.
- 150 g fresh or frozen raspberries – the star ingredient.
- 1 teaspoon lemon zest (optional) – adds a fresh, citrusy lift.
Each ingredient has a role to play. For example, using fresh raspberries ensures that the tartness balances the sweetness of the buns naturally. If you’re curious about why self-raising flour is preferred in such recipes, you can check out this guide on self-raising flour.
Essential Tools
Having the right tools makes baking much easier. For this recipe, you’ll need:
- A mixing bowl – preferably large enough to allow gentle folding.
- Electric hand mixer or wooden spoon – to cream butter and sugar smoothly.
- Muffin tray – keeps buns uniform and evenly baked.
- Paper cases – prevent sticking and make serving simple.
- Cooling rack – avoids soggy bottoms by letting air circulate.
Step-by-Step Guide to Mary Berry Raspberry Buns
1. Prepare the Oven
Preheat your oven to 180°C (160°C fan). Line your muffin tray with paper cases. Preheating ensures even baking, and paper cases make cleanup effortless.
2. Cream Butter and Sugar
In a large mixing bowl, beat butter and sugar until pale and fluffy. This process traps air, helping your buns rise beautifully. Remember, patience here pays off!
3. Add Eggs Gradually
Add the eggs one at a time, blending smoothly after each addition. Gradual incorporation prevents the batter from curdling and ensures a silky texture.
4. Stir in Flavorings
Add vanilla extract and milk to the batter. Mix gently but thoroughly. This step enhances the aroma and improves the overall flavor.
5. Fold in Flour
Sift the self-raising flour into the mixture and fold lightly. Be gentle; overmixing will make the buns dense instead of soft and fluffy.
6. Incorporate Raspberries
Fold in raspberries carefully so they remain mostly whole. If you toss them lightly in a teaspoon of flour first, it will prevent them from sinking to the bottom.
7. Bake the Buns
Spoon the batter evenly into the muffin tray. Bake for 18–22 minutes or until the tops are lightly golden and a skewer inserted in the center comes out clean. Each oven behaves differently, so start checking around 18 minutes.
8. Cooling
Remove the buns from the tray after a few minutes and transfer them to a cooling rack. Allowing them to rest slightly improves texture and flavor.
Tips and Tricks for Perfect Buns
- Room-Temperature Ingredients – Butter and eggs blend more easily when at room temperature.
- Gentle Folding – Preserves air, keeping buns light and fluffy.
- Even Portioning – Use an ice-cream scoop for uniform sizes.
- Oven Middle Shelf – Promotes even heat distribution.
- Check Early – Skewer testing ensures buns are not overbaked.
Common Mistakes and Fixes
- Overmixing the batter – results in dense buns; fix by folding flour gently.
- Too many raspberries – creates wet centers; stick to the measured amount.
- High oven temperature – browns tops too quickly; use an accurate thermometer to confirm oven heat.
Variations and Customizations
- Healthier Version: Reduce sugar to 75 g or substitute 50 g of flour with wholemeal flour.
- Ingredient Substitutions: Use baking margarine instead of butter or light brown sugar for a deeper taste.
- Fruit Variations: Blueberries or chopped strawberries can replace raspberries.
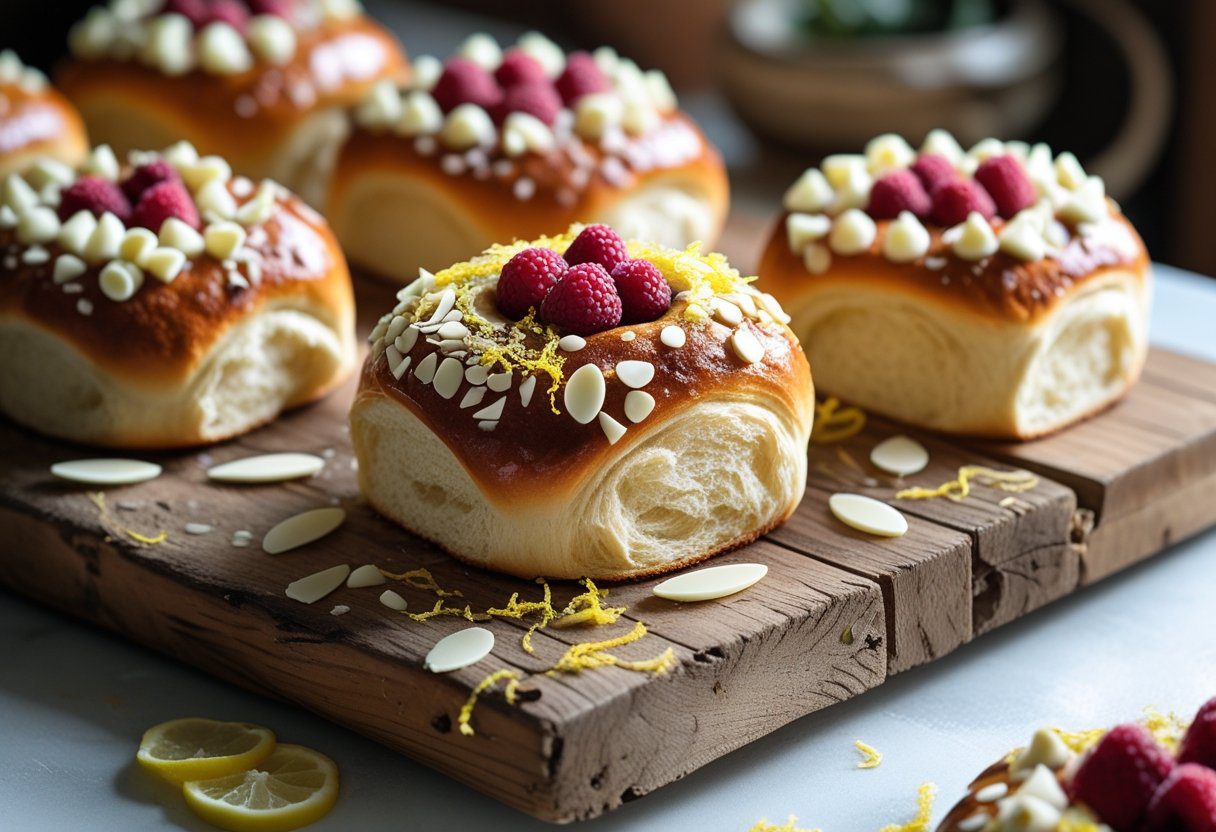
- Creative Twists: Add 50 g white chocolate chips, sprinkle flaked almonds, or swirl in 1 teaspoon of raspberry jam per bun.
Serving Suggestions
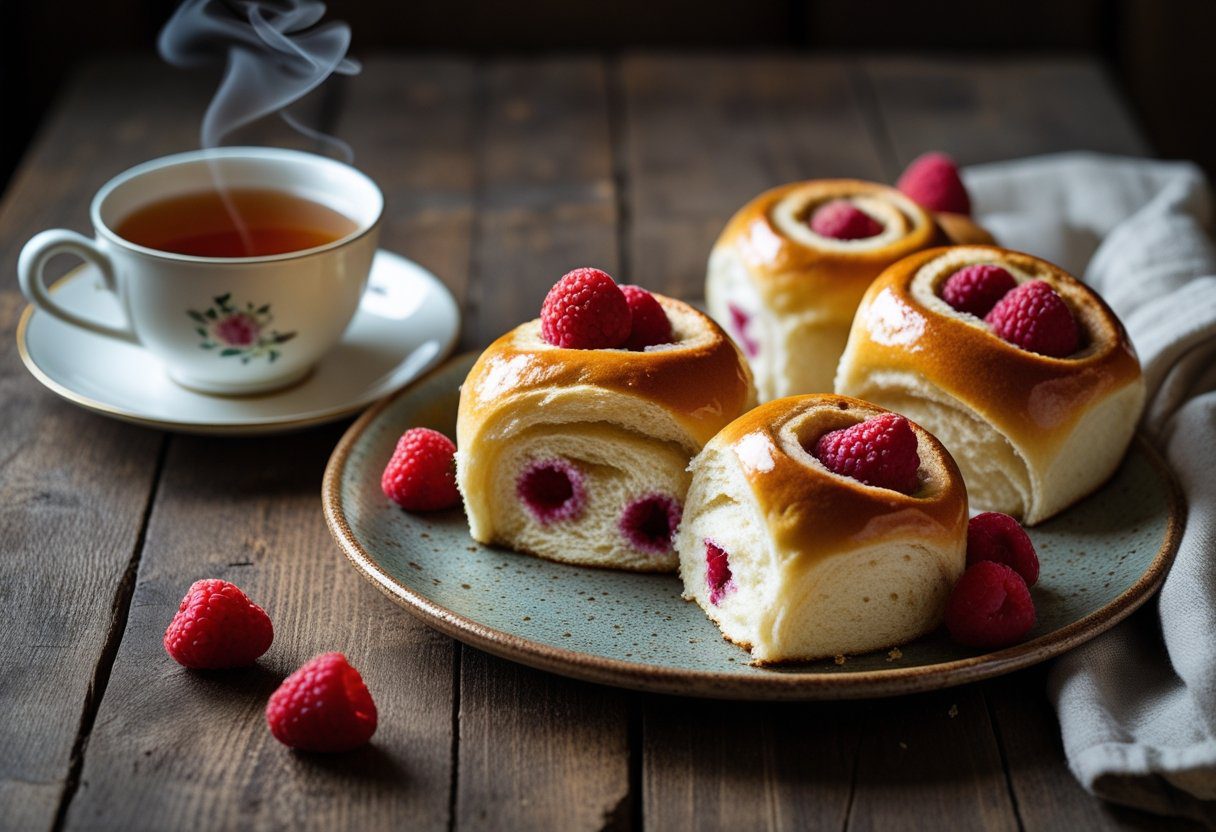
- Classic Tea Moment – Pair with a cup of English breakfast tea.
- Creamy Contrast – Warm buns with lightly whipped cream.
- Fresh Addition – Serve alongside a small bowl of mixed berries.
- Simple Spread – A thin layer of butter melts beautifully on top.
Storing Mary Berry Raspberry Buns
- Room Temperature: Airtight container for up to 2 days.
- Refrigeration: Chill for 3–4 days.
- Freezer-Friendly: Freeze cooled buns for up to 2 months.
Reheating Instructions
Warm in a low oven at 150°C for 5–7 minutes or microwave for 10–15 seconds. This restores softness without drying them out.
Nutritional Information
Per serving, approximately:
- Calories: 220 kcal
- Carbohydrates: 28 g
- Fat: 10 g
- Protein: 4 g
- Sugar: 15 g
Why You Should Try This Recipe
Baking Mary Berry Raspberry Buns is more than just making a snack; it’s creating an experience. The process is calming, rewarding, and deeply satisfying. Every bite offers a perfect balance of sweetness and tartness, with a soft, airy texture that feels like a warm hug.
Anecdote from the Kitchen
I remember my first attempt at these buns vividly. I overmixed the batter in excitement, and the result was slightly dense. But after learning the gentle folding technique, the next batch came out perfectly golden, soft, and fluffy. It reminded me that baking is as much about patience as precision. Sharing these buns with family and friends turned a simple baking session into a joyful, memorable afternoon.
Final Thoughts
Mary Berry Raspberry Buns Recipe is a timeless classic in British baking. It’s simple, versatile, and utterly delicious. With the tips and variations provided, even beginners can achieve professional results. Whether you enjoy them for breakfast, tea, or dessert, these buns are guaranteed to delight. So preheat your oven, gather your ingredients, and embark on this delightful baking journey!
For further inspiration and baking techniques, you can explore Mary Berry’s official recipe collection.
FAQs – Mary Berry Raspberry Buns Recipe
1. Can I use frozen raspberries for Mary Berry Raspberry Buns?
Yes! Frozen raspberries work perfectly. Use them straight from the freezer without thawing and fold gently into the batter to prevent excess juice from making the buns soggy.
2. Why did my buns turn out dense instead of soft?
Dense buns usually result from overmixing the batter or folding the flour too aggressively. Always fold gently and incorporate ingredients slowly to keep the buns light and fluffy.
3. How do I prevent raspberries from sinking to the bottom?
Toss the raspberries lightly in a teaspoon of flour before folding them into the batter. This helps them stay suspended evenly throughout the buns while baking.
4. Can I make the recipe healthier?
Absolutely. You can reduce sugar to 75 g, substitute 50 g of flour with wholemeal flour, or use reduced-fat butter and semi-skimmed milk for a lighter version without sacrificing texture.
5. How long do Mary Berry Raspberry Buns stay fresh?
-
At room temperature: up to 2 days in an airtight container.
-
In the fridge: 3–4 days, well wrapped.
-
In the freezer: up to 2 months when fully cooled and stored properly.
6. How should I reheat the buns?
Warm in a low oven at 150°C (5–7 minutes) or microwave for 10–15 seconds. This refreshes the buns without drying them out.
7. Can I substitute other fruits for raspberries?
Yes! Blueberries, chopped strawberries, or a mix of berries can be used instead of raspberries while maintaining the same quantity (around 150 g).
8. How do I know when the buns are fully baked?
The buns are ready when the tops are lightly golden, spring back when gently pressed, and a skewer inserted into the center comes out clean or with a few moist crumbs.
9. Can I add extra flavors or toppings?
Yes, creative variations include adding white chocolate chips, flaked almonds, extra lemon zest, or a small swirl of raspberry jam for a fun twist.
10. Are Mary Berry Raspberry Buns suitable for beginners?
Definitely! This recipe is beginner-friendly, uses basic baking techniques, and doesn’t require yeast or long resting periods. Following the step-by-step guide ensures successful results every time.