
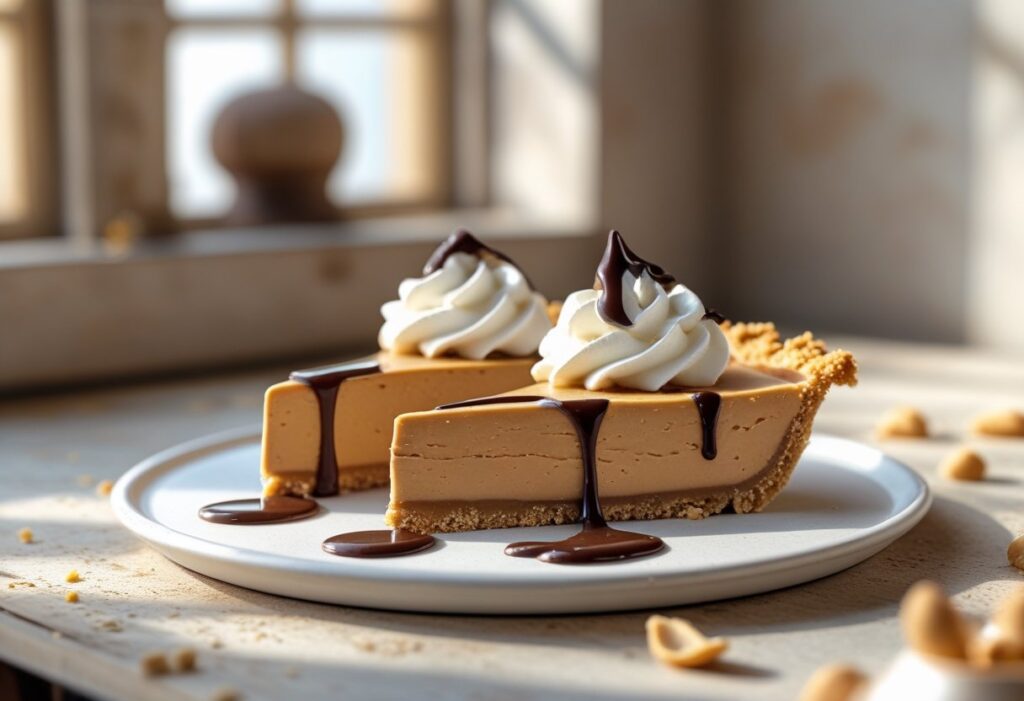
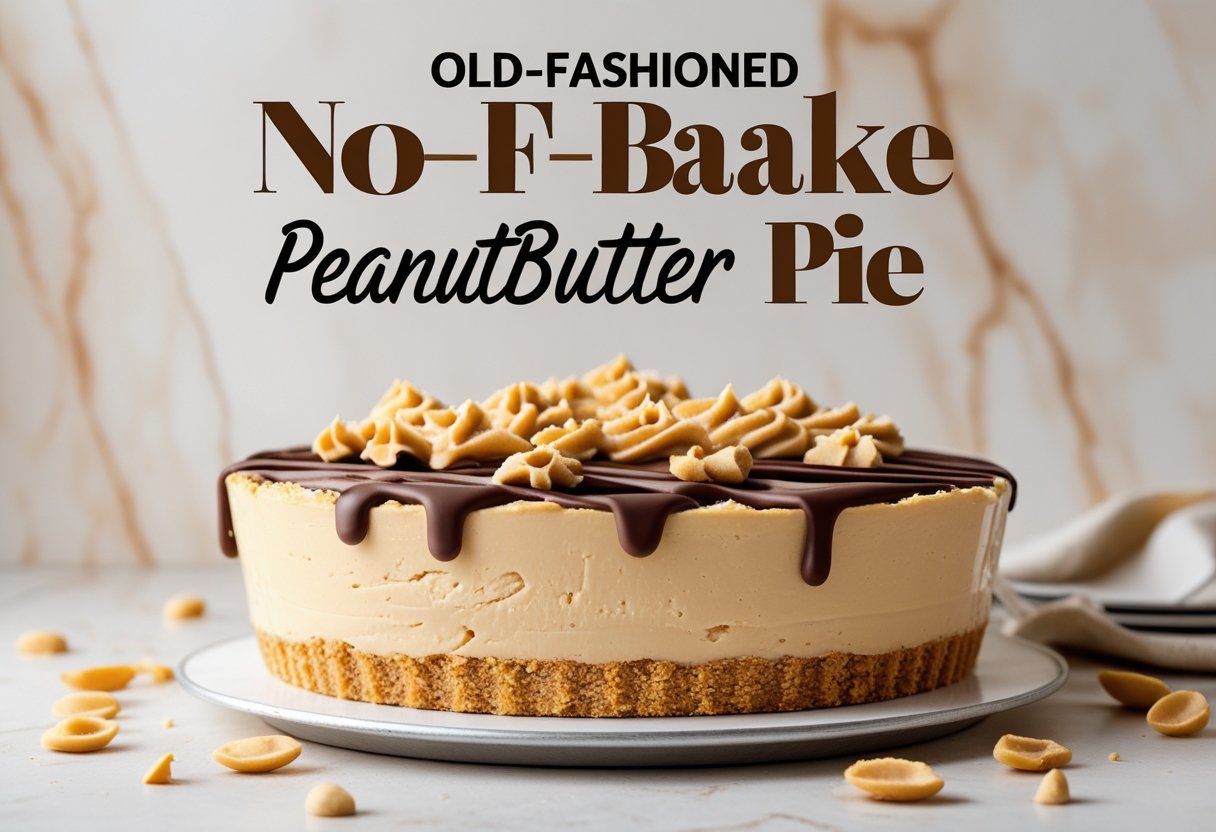
This Old-Fashioned No-Bake Peanut Butter Pie Bakery Style Recipe is a classic American dessert that delivers rich flavor, creamy texture, and nostalgic charm—without turning on the oven. Made with smooth peanut butter, cream cheese, whipped cream, and a buttery graham cracker crust, this no-bake peanut butter pie is perfect for summer desserts, holidays, or anytime you want an easy yet impressive treat. Its bakery-style finish, clean slices, and silky filling make it a favorite among peanut butter lovers.
To make this recipe, start by preparing a traditional graham cracker crust using crushed crackers, melted butter, and a touch of sugar. Press it firmly into a pie dish and chill until set. For the filling, beat softened cream cheese until smooth, then mix in creamy peanut butter, powdered sugar, and vanilla extract to create a rich peanut butter base. In a separate bowl, whip heavy cream to soft peaks and gently fold it into the peanut butter mixture to keep the filling light and airy.
Once combined, spread the creamy peanut butter filling evenly into the chilled crust and smooth the top. Refrigerate the pie for at least four hours, or overnight, to allow it to fully set. This chilling step is essential for achieving that classic old-fashioned, bakery-style texture. Before serving, garnish with whipped cream, chocolate drizzle, or chopped peanuts for added flavor and presentation.
This no-oven dessert is easy to customize, make-ahead friendly, and ideal for parties or family gatherings. For the old-fashioned no-bake peanut butter pie bakery style recipe, ingredients, tips, and variations, see the example complete recipe in given below.
Why This Old-Fashioned Peanut Butter Pie Is Truly Bakery Style
Many no-bake peanut butter pie recipes rely heavily on shortcuts that sacrifice texture. A real bakery-style peanut butter pie should be:
- Creamy but not dense
- Light yet rich
- Firm enough to slice cleanly
- Balanced between sweet and salty
- Smooth, not grainy or oily
The key difference here is technique—not complicated steps, but proper mixing order, correct fat ratios, and adequate chilling time.
This recipe uses:
- Cream cheese for structure and tang
- Creamy peanut butter for smooth texture
- Whipped cream (not frozen topping) for lift
- Powdered sugar for a melt-in-your-mouth filling
That combination is what gives this old-fashioned no-bake peanut butter pie its bakery-quality finish.
Ingredients for Old-Fashioned No-Bake Peanut Butter Pie
For the Crust
- 1 ½ cups graham cracker crumbs
- ⅓ cup melted butter
- 2 tablespoons sugar
(You can also use an Oreo pie crust or digestive biscuit crust if preferred.)
For the Peanut Butter Filling
- 8 oz cream cheese, softened
- 1 cup creamy peanut butter
- ¾ cup powdered sugar
- 1 teaspoon vanilla extract
- 1 cup heavy whipping cream, whipped to soft peaks
Optional Toppings
- Chocolate drizzle
- Crushed peanut butter cups
- Chopped roasted peanuts
- Whipped cream swirls
These ingredients are simple, but their temperature and preparation matter more than most people realize.
Step-by-Step: How to Make Old-Fashioned No-Bake Peanut Butter Pie
Step 1: Prepare the Graham Cracker Crust
Combine graham cracker crumbs, sugar, and melted butter until evenly moistened. Press firmly into a 9-inch pie dish, working the mixture up the sides.
Expert Tip:
Use the bottom of a measuring cup to compress the crust tightly. This prevents crumbling when slicing.
Chill the crust for at least 20 minutes while preparing the filling.
Step 2: Beat the Cream Cheese
In a large bowl, beat the softened cream cheese until completely smooth.
Why this matters:
Cold or under-mixed cream cheese creates lumps that no amount of whipping can fix later.
Step 3: Add Peanut Butter and Sugar
Mix in the peanut butter and powdered sugar until fully incorporated. The mixture should look thick, glossy, and uniform.
This step builds the flavor base of the pie. Creamy peanut butter works best for that classic old-fashioned texture.
Step 4: Fold in Whipped Cream
Gently fold whipped cream into the peanut butter mixture using a spatula. Work slowly to keep the filling light and airy.
Do not overmix.
Overmixing deflates the whipped cream and leads to a dense pie.
Step 5: Assemble and Chill
Spoon the filling into the chilled crust and smooth the top.
Refrigerate for at least 4 hours, preferably overnight.
This chilling time allows the pie to set properly, giving it that bakery-style slice.
Common Mistakes to Avoid (From Experience)
After years of testing, these are the biggest issues I see:
- Using natural peanut butter (too oily)
- Skipping chill time
- Over-whipping the cream
- Using low-fat cream cheese
- Not softening cream cheese fully
Avoiding these mistakes alone will instantly upgrade your results.
Flavor Variations You Can Try
This old-fashioned no-bake peanut butter pie recipe is a perfect base for customization:
Chocolate Peanut Butter Pie
Add melted chocolate to the filling or drizzle generously on top.
Oreo Crust Version
Swap graham crackers for crushed Oreos for a richer dessert.
Frozen Peanut Butter Pie
Freeze for 2 hours before serving for a semi-frozen summer dessert.
Gluten-Free Option
Use gluten-free graham crackers or almond flour crust.
How to Serve This Peanut Butter Pie
Serve chilled, straight from the refrigerator. For clean slices:
- Dip your knife in hot water
- Wipe between cuts
This pie pairs beautifully with:
- Coffee
- Cold milk
- Espresso
- Vanilla ice cream
It’s ideal for holidays, potlucks, summer gatherings, and family dinners.
Storage and Make-Ahead Tips
- Refrigerator: Up to 4 days, covered
- Freezer: Up to 1 month, tightly wrapped
- Make-Ahead: Best made the day before serving
The texture actually improves after several hours of chilling.
Frequently Asked Questions (FAQs)
1. What makes this peanut butter pie “old-fashioned”?
It uses classic ingredients and a traditional creamy texture without gelatin or baking.
2. Can I use crunchy peanut butter?
You can, but creamy peanut butter gives the smooth bakery-style finish.
3. Is this pie truly no-bake?
Yes, no oven is required—just chilling.
4. How long does it take to set?
At least 4 hours, but overnight is best.
5. Can I use Cool Whip instead of whipped cream?
Yes, but fresh whipped cream gives better flavor and structure.
6. Can I make this pie ahead of time?
Absolutely—this pie is perfect for make-ahead desserts.
7. Is this recipe freezer-friendly?
Yes, freeze for up to one month.
8. Why is my filling too soft?
Likely under-chilled or over-mixed whipped cream.
9. Can I make it dairy-free?
Yes, with dairy-free cream cheese and coconut cream.
10. What crust works best?
A graham cracker crust is the most traditional and balanced.