


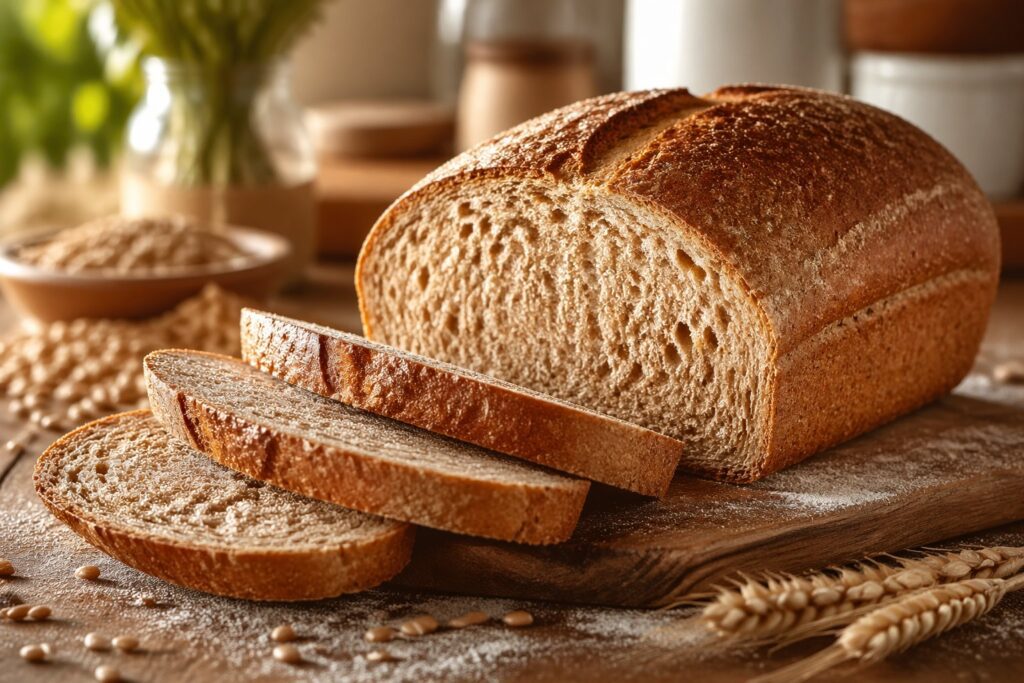
When it comes to making smarter food choices, whole wheat bread stands out as a nutritional powerhouse. Unlike refined flour, whole wheat flour retains all parts of the grain—the bran, germ, and endosperm. That means you’re getting more fiber, vitamins, minerals, and antioxidants in every slice. Fiber, in particular, plays a huge role in digestion and helps keep you feeling full longer, which can support weight management goals.

Think of whole wheat as the “complete package” of grains. It contains essential nutrients like B vitamins, iron, magnesium, and zinc, all of which are stripped away in white flour processing. Regular consumption of whole grains has been linked to lower risks of heart disease, type 2 diabetes, and even certain cancers. So when you bake your own bread using 100% whole wheat flour, you’re not just making food—you’re investing in your long-term health.
Whole Wheat vs White Bread: Key Differences
White bread might be soft and fluffy, but nutritionally, it falls short. During processing, refined flour loses nearly 70% of its nutrients. Manufacturers often add synthetic vitamins back in, but it’s just not the same as the natural goodness found in whole grains. Whole wheat bread, on the other hand, offers complex carbohydrates that digest slowly, providing sustained energy instead of quick sugar spikes.
Another key difference lies in fiber content. Whole wheat bread contains significantly more fiber, which supports gut health and stabilizes blood sugar levels. If you’ve ever felt hungry soon after eating white bread, that’s why—it lacks the staying power of whole grains. Switching to homemade whole wheat bread is like upgrading from a basic phone to a smartphone—it simply does more for you.
The Magic of Homemade Bread
Why Baking at Home Is Better
There’s something incredibly satisfying about baking your own bread. The smell alone can transform your kitchen into a cozy haven. But beyond the sensory experience, homemade bread gives you full control over what goes into your food. No preservatives, no artificial additives—just pure, wholesome ingredients.
Store-bought bread often contains hidden sugars, unhealthy fats, and chemical stabilizers to extend shelf life. When you bake at home, you eliminate all that. You can also adjust the recipe to suit your dietary needs, whether that means reducing salt, adding seeds, or experimenting with natural sweeteners like honey.
Cost-Effective and Customizable
Let’s talk money for a second. Buying high-quality whole wheat bread regularly can add up quickly. Making it at home is surprisingly affordable. With just a handful of ingredients, you can bake multiple loaves for the price of one store-bought version.
Customization is another huge advantage. Want a nuttier flavor? Add sunflower seeds. Prefer a softer texture? Adjust the hydration level. Baking your own bread is like being the chef of your own bakery—you get to decide everything.
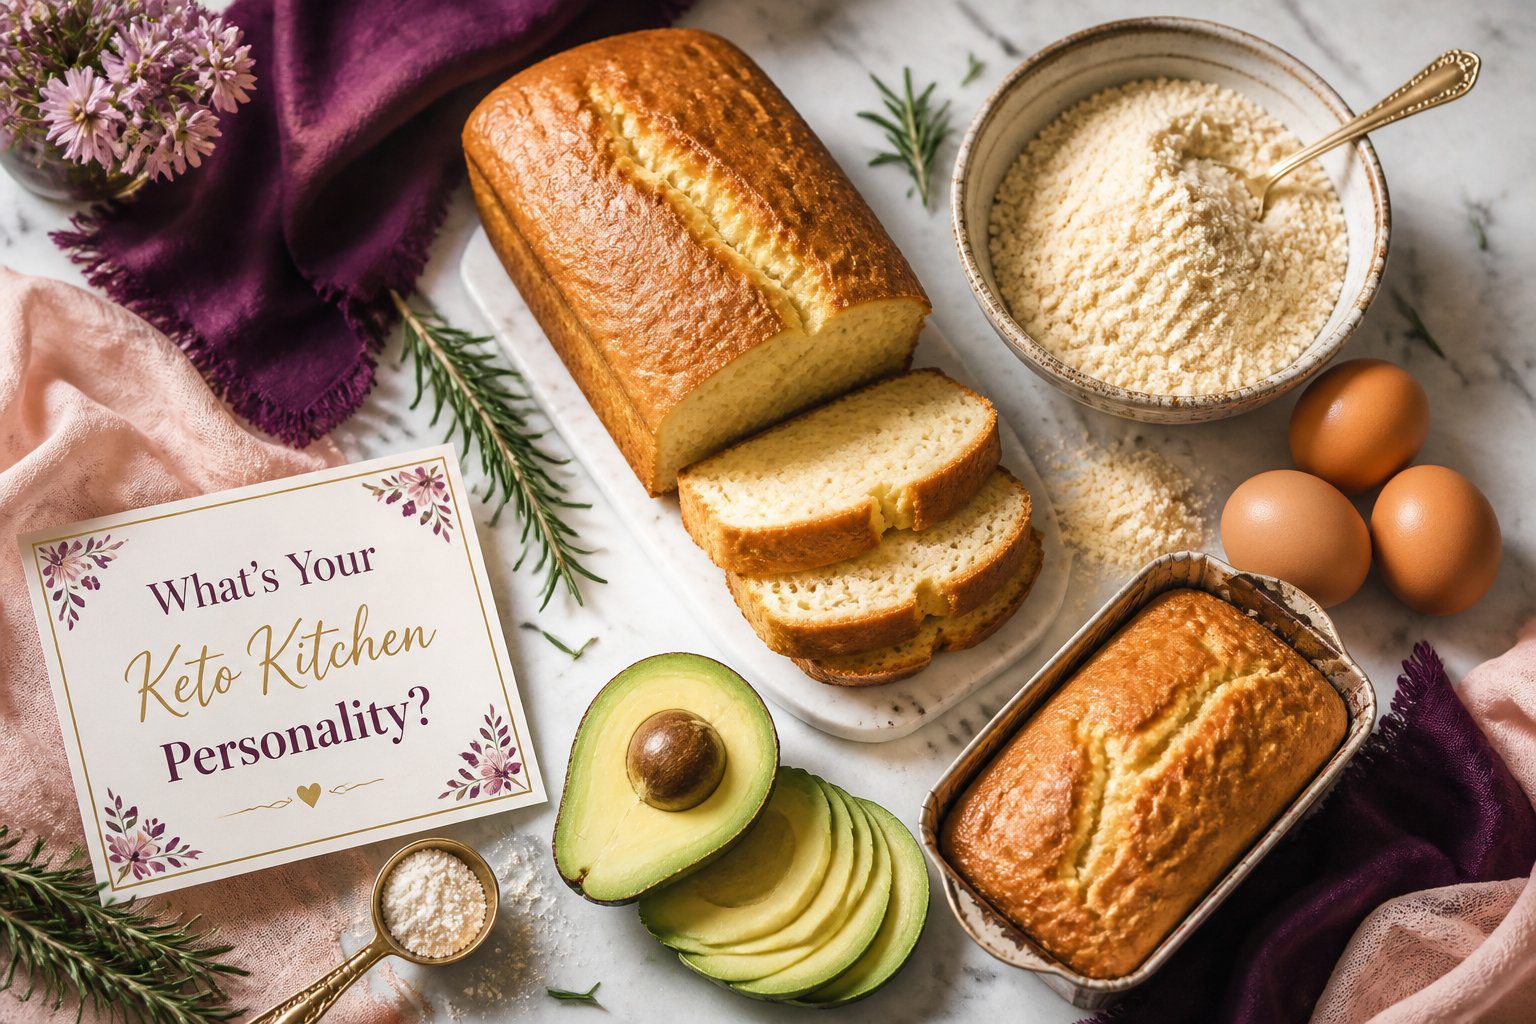
Ingredients You Need (Only 6!)
Ingredient Breakdown and Purpose
Here’s the beauty of this recipe: it’s incredibly simple. You only need six ingredients, most of which you probably already have in your kitchen.
- Whole wheat flour – The star of the show, providing structure and nutrition
- Warm water – Activates the yeast and forms the dough
- Yeast – Helps the bread rise and become fluffy
- Honey or sugar – Feeds the yeast and adds a hint of sweetness
- Salt – Enhances flavor and strengthens gluten
- Olive oil – Adds moisture and improves texture
Each ingredient plays a specific role, working together like a well-coordinated team to create the perfect loaf.
Tips for Choosing Quality Ingredients
Quality matters more than quantity here. Use fresh, finely milled whole wheat flour for the best texture. Old flour can make your bread dense and bitter. When it comes to yeast, make sure it’s active—expired yeast won’t give you the rise you need.
Opt for extra virgin olive oil for better flavor, and if possible, use raw honey instead of refined sugar. These small choices can elevate your bread from good to exceptional.
Step-by-Step Recipe Guide
Preparing the Dough
Start by dissolving the yeast and honey in warm water. Let it sit for about 5–10 minutes until it becomes frothy. This step is like waking up the yeast—it ensures it’s alive and ready to work. Then, gradually add the whole wheat flour and salt, mixing until a sticky dough forms.
At this stage, don’t worry if the dough looks a bit rough. Whole wheat dough tends to be denser than white flour dough. Think of it as a diamond in the rough—it just needs a little shaping.
Kneading Techniques
Kneading is where the magic happens. It develops the gluten, giving your bread structure and chewiness. Knead the dough for about 8–10 minutes until it becomes smooth and elastic. If it sticks to your hands, add a little flour—but not too much, or you’ll end up with dry bread.
A good way to test is the “windowpane test.” Stretch a small piece of dough—if it forms a thin, translucent layer without tearing, you’re good to go.
Proofing and Rising
Place the dough in a lightly oiled bowl, cover it, and let it rise in a warm place for about 1–2 hours. It should double in size. This is where patience pays off. Rushing this step can lead to dense bread.
After the first rise, punch down the dough to release air bubbles, shape it into a loaf, and let it rise again for another 30–45 minutes.
Baking to Perfection
Preheat your oven to 375°F (190°C). Bake the bread for 30–35 minutes until the top is golden brown and sounds hollow when tapped. Let it cool completely before slicing—this helps the structure set properly.
Common Mistakes to Avoid
Dough Too Dense or Dry
One of the most common issues is ending up with dense bread. This usually happens بسبب too much flour or not enough kneading. Whole wheat flour absorbs more water, so don’t be afraid to keep the dough slightly sticky.
Overproofing Issues
Letting the dough rise too long can cause it to collapse during baking. Keep an eye on it—once it doubles in size, it’s ready. Think of it like inflating a balloon—too much air, and it bursts.
Tips for Perfect Whole Wheat Bread Every Time
Temperature and Timing Secrets
Temperature plays a huge role in baking. Yeast thrives in warm environments, so aim for around 75–85°F during proofing. If your kitchen is cold, place the dough in a slightly warm oven (turned off).
Timing is equally important. Set a timer to avoid overproofing or underbaking. Baking is both an art and a science—you need precision and intuition.
Storage and Shelf Life
Homemade bread doesn’t contain preservatives, so it won’t last as long as store-bought versions. Store it in an airtight container at room temperature for up to 3 days. For longer storage, freeze slices and toast them when needed.
Variations and Add-Ons
Seeds, Nuts, and Flavors
Want to take your bread to the next level? Add ingredients like:
- Sunflower seeds
- Flaxseeds
- Chopped walnuts
- Oats
These not only enhance flavor but also boost nutritional value.
Vegan and Gluten-Free Alternatives
This recipe is already close to vegan—just replace honey with maple syrup. For gluten-free options, you’ll need specialized flour blends and binding agents like xanthan gum.
Nutritional Value Table
| Nutrient | Per Slice (Approx.) |
| Calories | 120 kcal |
| Carbohydrates | 22g |
| Protein | 4g |
| Fiber | 3g |
| Fat | 2g |
| Sugar | 2g |
Conclusion
Baking your own 100% whole wheat bread is more than just a kitchen activity—it’s a lifestyle upgrade. You get better nutrition, richer flavor, and complete control over ingredients. With just six simple components and a bit of patience, you can create a loaf that rivals any bakery. Once you try it, going back to store-bought bread will feel like settling for less.
FAQs
1. Can I make whole wheat bread without yeast?
Yes, you can use alternatives like baking powder or baking soda, but the texture will be more like a quick bread rather than traditional loaf bread.
2. Why is my whole wheat bread so dense?
It’s usually بسبب insufficient kneading or too much flour. Make sure your dough stays slightly sticky and knead it properly.
3. Can I mix whole wheat with white flour?
Absolutely. A 50/50 mix can give you a softer texture while still retaining some nutritional benefits.
4. How do I know when my bread is fully baked?
Tap the bottom of the loaf—if it sounds hollow, it’s done. You can also check if the internal temperature reaches about 190°F (88°C).
5. Can I freeze homemade whole wheat bread?
Yes, slice it first and store in freezer-safe bags. It can last up to 3 months.